
 |
|
|
|
#1
|
||||
|
||||
|
The procedure is to get the top thicknesses right first, then add the bass bar and cleats. It's much easier to track the cracks now that the surface is mostly clean wood.
Thomas here are SOOO many variables I really don't think anyone could live long enough to repeat what Carleen Hutchins did in her lifetime and come up with something new. I think that measuring the resonance of a free plate is a completely different thing to measuring an assembled instrument - no comparisons can be made because they are two different things. It would not be hard to measure an assembled instrument I suppose, but then it would be very complicated to make any adjustments. I'm not about to go there! |
|
#2
|
|||
|
|||
|
Any progress? I've really been fascinated by this project.
|
|
#3
|
||||
|
||||
|
A bit of progress with cleating the top. There are many ways of doing this, but I prefer long diamond cleats because they make most sense to me; maximum glue contact and flexibility and offset grain. They are a bit tricky to trim without nicking the top, but I've done enough now to be able to do it fairly quickly.
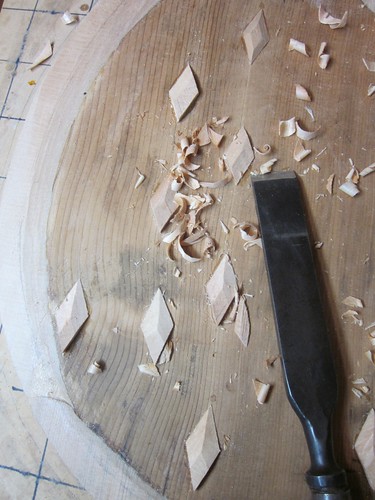 Very sharp blade essential! 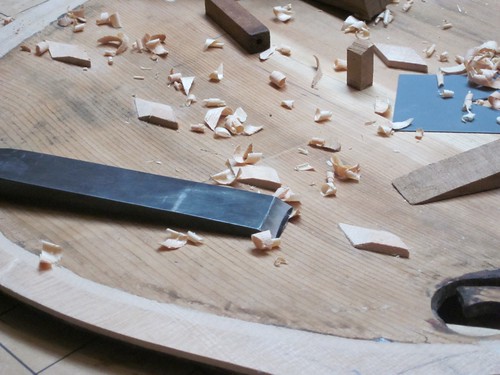 Some more trimming will be done before I'm happy. Although this is work that only the angels will get to see I like to make sure it's done neatly. 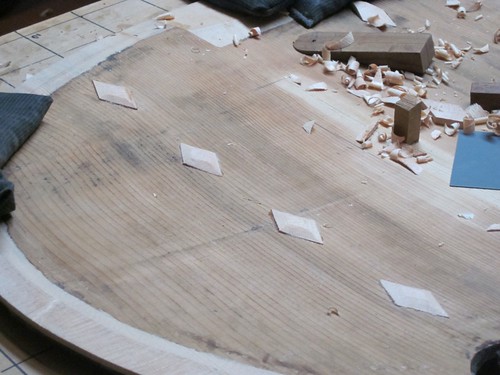 I might add a few more cleats later or some linen strips depending on how I feel. 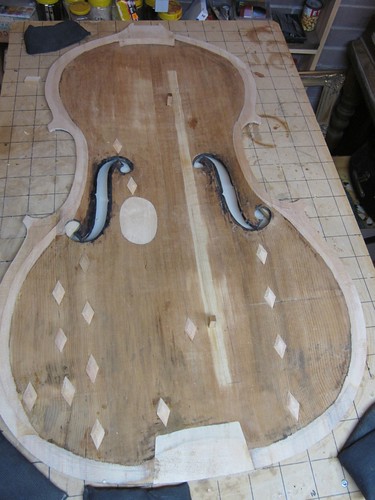 Here for comparison: 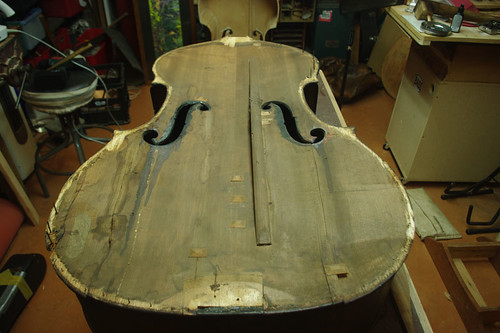 And here's a video of how i do it: http://www.youtube.com/watch?v=ZOayNxDvuPM |
|
#4
|
||||
|
||||
|
Nice - thanks for keeping us posted.
That's a beastly looking chisel!  |
|
#5
|
||||
|
||||
|
The chisel is the one I use for mortising a neck block, and I like its weight and the fact that it holds a razor edge really well. Not sure it's perfect for the job though - I'd be interested to see what other luthiers use for this task. I have a feeling that a paring chisel with a short wide blade would be even better.
|
|
#6
|
||||
|
||||
|
Personally I think a long, well balanced paring chisel would probably be choice; but like most things whatever is comfortable and sharp is going to work best, even if it isn't by the textbook...
 |
|
#7
|
||||
|
||||
|
Back to purfling repairs. Here are the main tools I use:
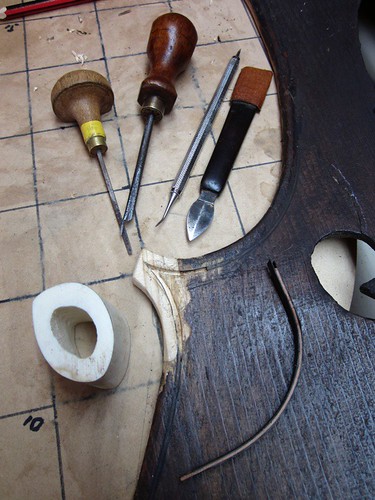 The job is exceedingly tedious and performed under a powerful magnifier; the original purfling is very brittle and has to be cut back to a suitable point, then the new beesting is cut following the original purfling lines ... and guessing a bit too. 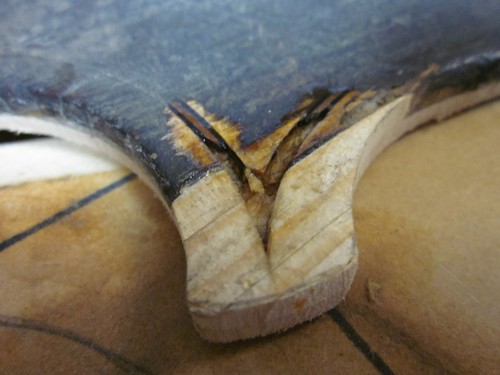 This is the first one I did, and I changed the way I do the scarf joints after this one. But it's OK. 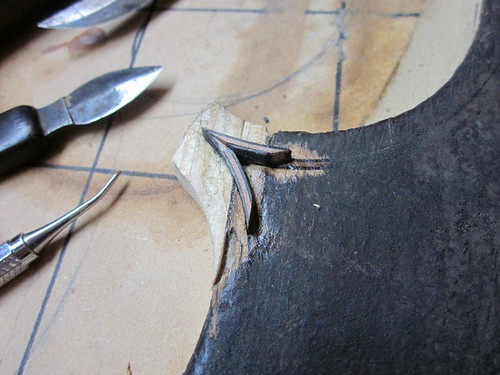 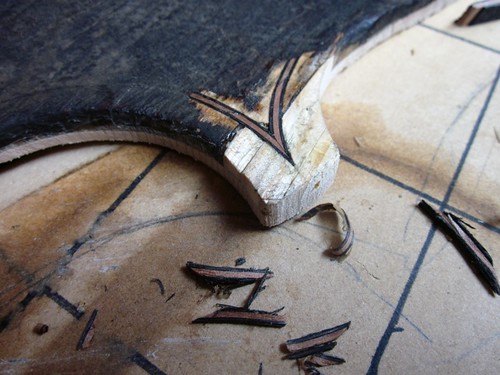 This is more like dentistry than luthiery! It is difficult to match the edges of the purfling invisibly, even using a scarf joint. In this next corner I decided to make the joint in the purfling coincide with the grain lines; one is almost a butt, the other is a longish scarf. 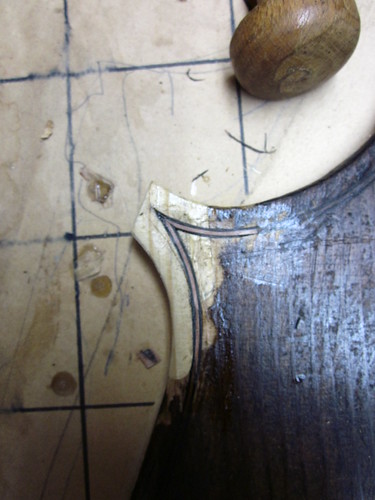 I think, under varnish, all these repairs will be virtually invisible. Ah the varnish. How the hell am I going to save the varnish? That's another problem. Last edited by Matthew Tucker; 11-09-2010 at 05:42 PM. |
 |
| Currently Active Users Viewing This Thread: 16 (0 members and 16 guests) | |
| Thread Tools | |
| Display Modes | |
|
|