|
|
|
#1
 03-01-2011, 03:37 PM
|
|||
|
|||
|
I am still working on the sound post patch, soon I will post some new pictures of my experiment, but for now I was looking for info about the patch online and I fond this info, I don’t really know is apply to an bass or a bass top I just though that I will be good to share it with you, it also have a second part..

|
|
#2
03-01-2011, 09:56 PM
|
||||
|
||||
|
I find it easier to cut the patch out first, then trace the outline onto the back. I find it is easier then to carve the bed for the patch, keeping the edges crisp and clean.
|
|
#3
03-02-2011, 10:30 AM
|
|||
|
|||
|
Quote:
|
|
#4
03-02-2011, 03:19 PM
|
||||
|
||||
|
Sure you can do that on a DB top. But whether you think its a good idea or not is up to you. Personally, I don't really understand why he chooses to do it that way, and its the only time I've ever seen it done that way. So unless I can get the genius behind it, i'll stick with what I know!
|
|
#5
03-03-2011, 12:44 PM
|
|||
|
|||
|
Quote:

|
|
#6
03-03-2011, 02:10 PM
|
|||
|
|||
|
Quote:
A series of articles by David Harris as he observes Luthier Jan Shelley at work…
|
|
#7
04-26-2011, 11:24 AM
|
|||
|
|||
|
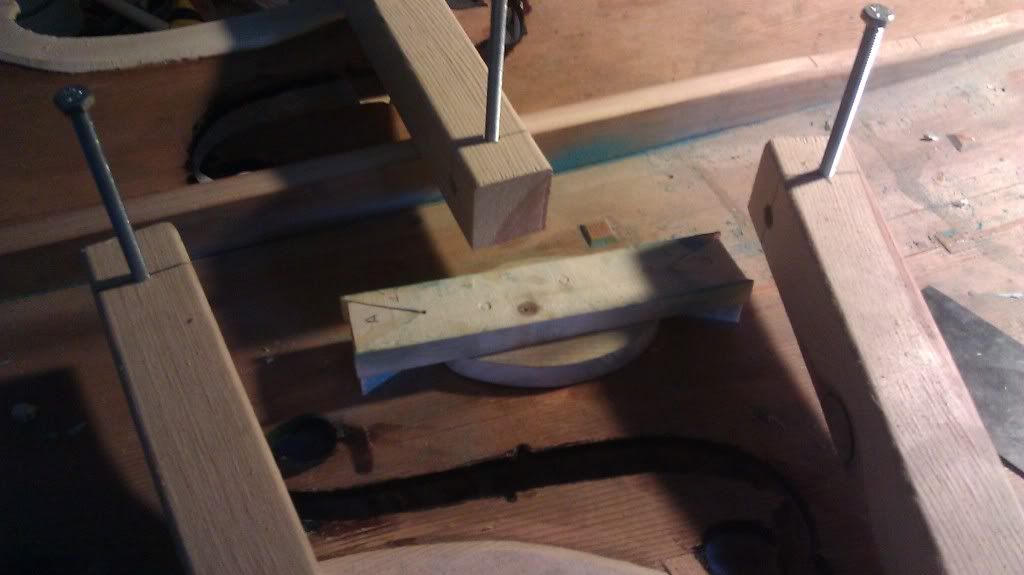
Edges Almost ready
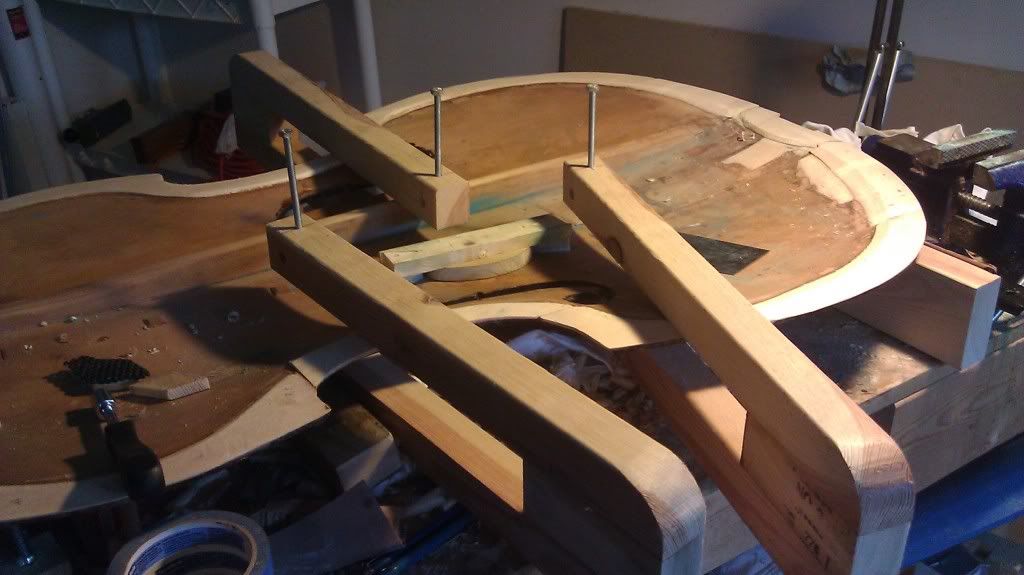 SP patch Drying as we speak: 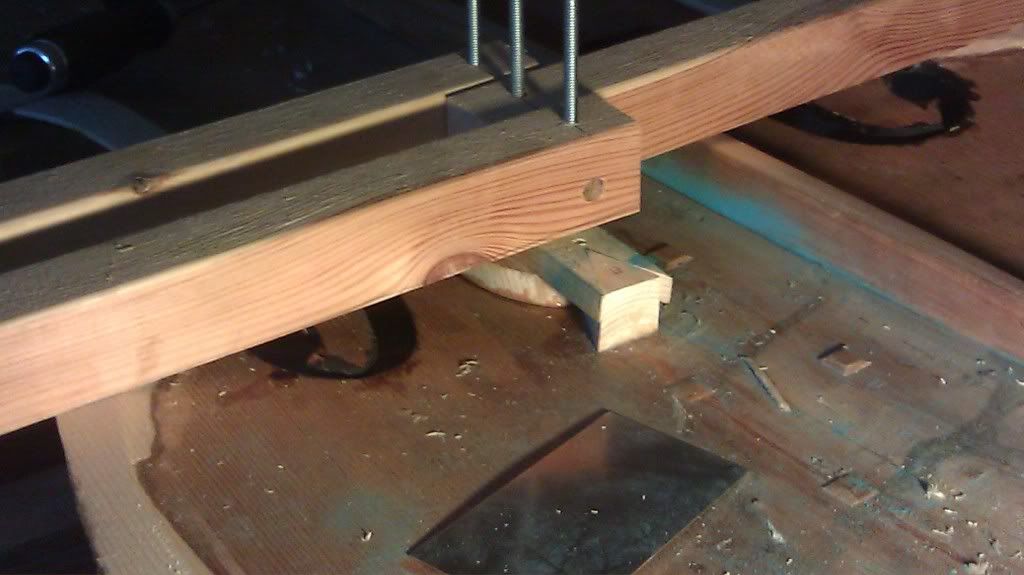 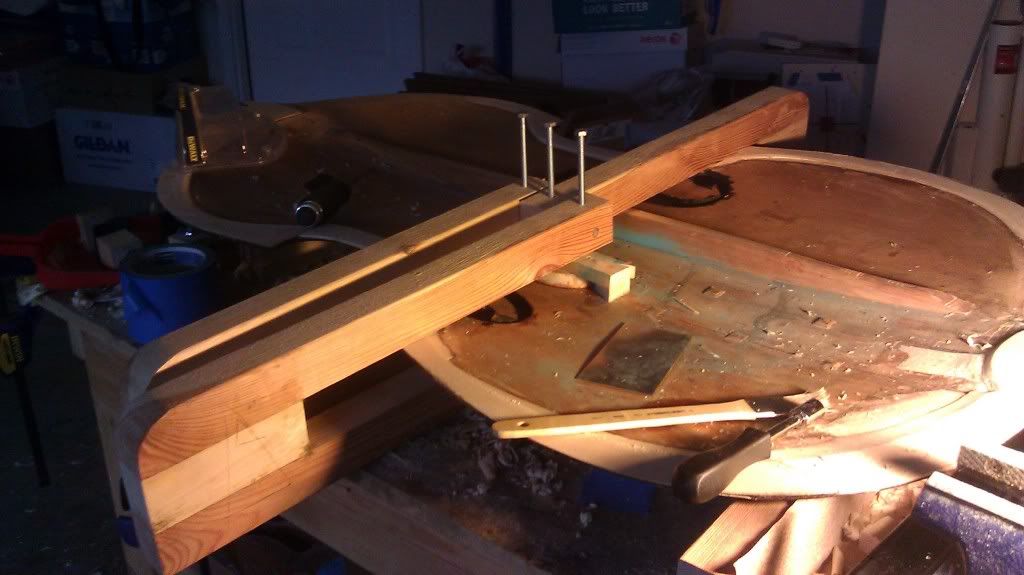 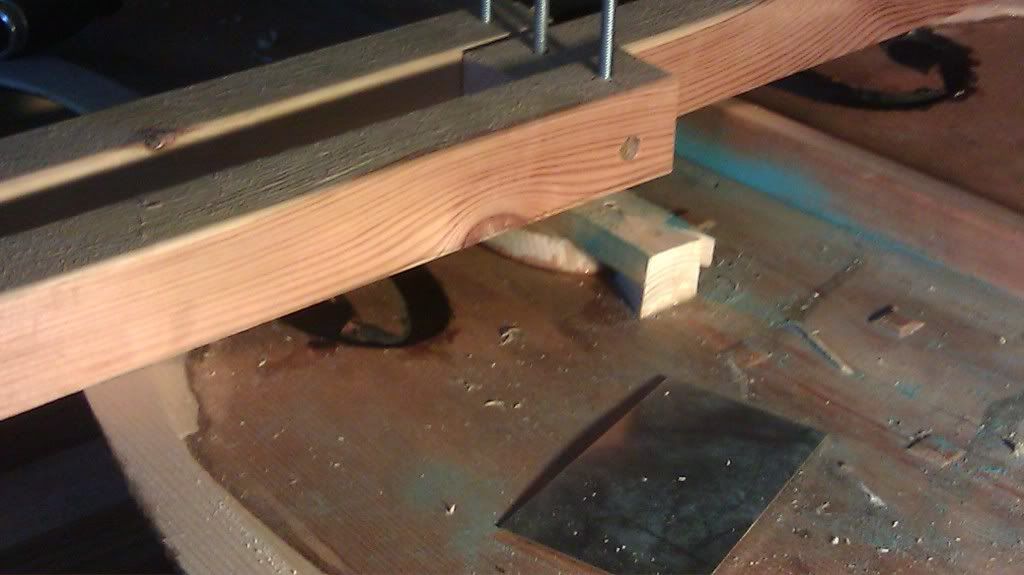
|
|
#8
04-26-2011, 12:51 PM
|
|||
|
|||
|
 |
| Currently Active Users Viewing This Thread: 1 (0 members and 1 guests) | |
|
|


 Hybrid Mode
